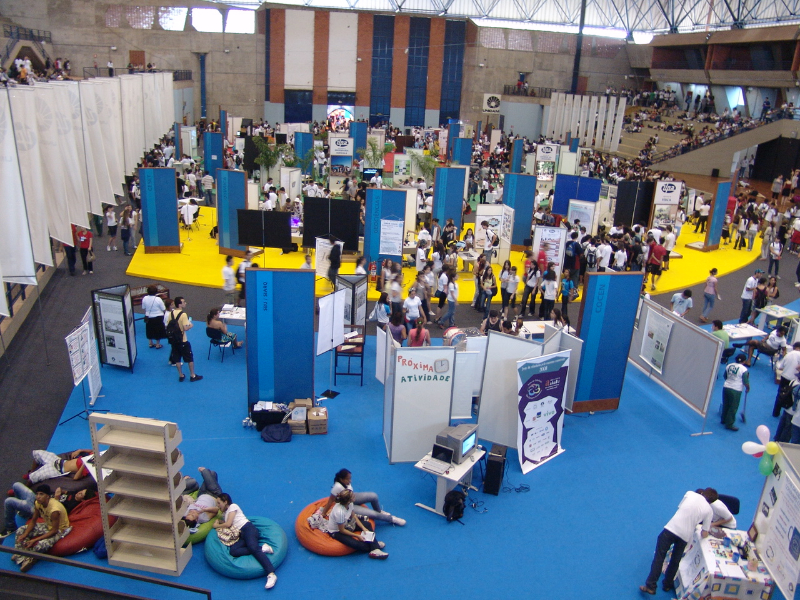
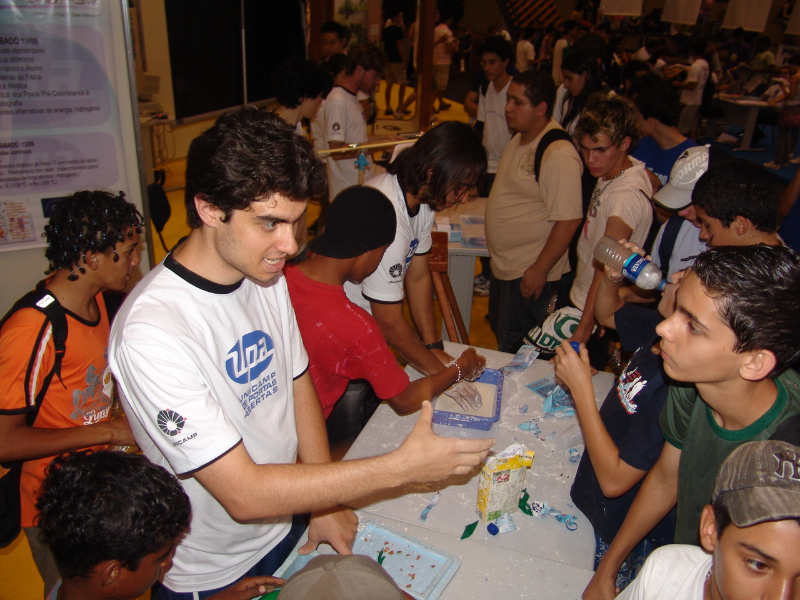
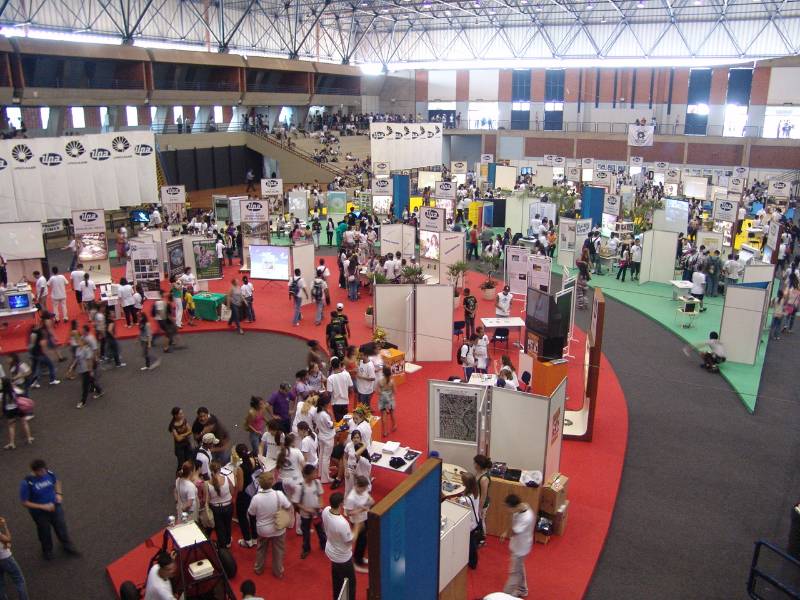
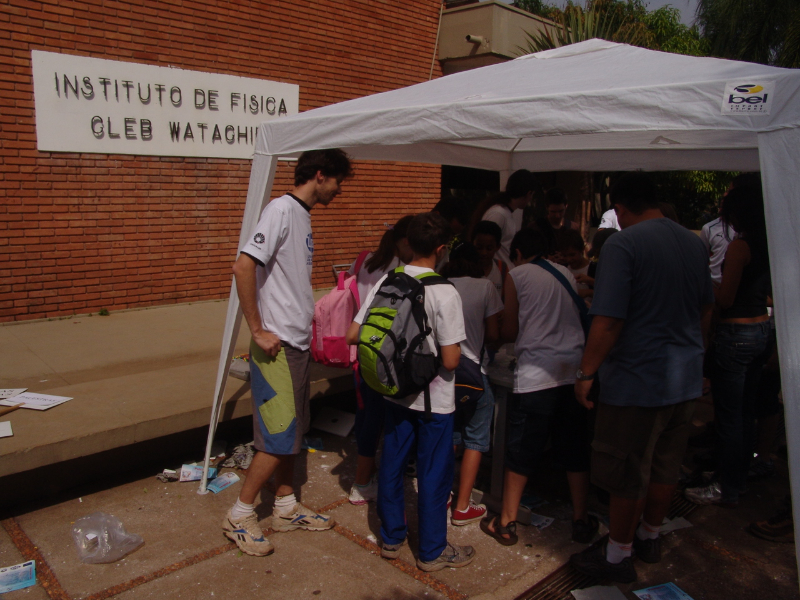
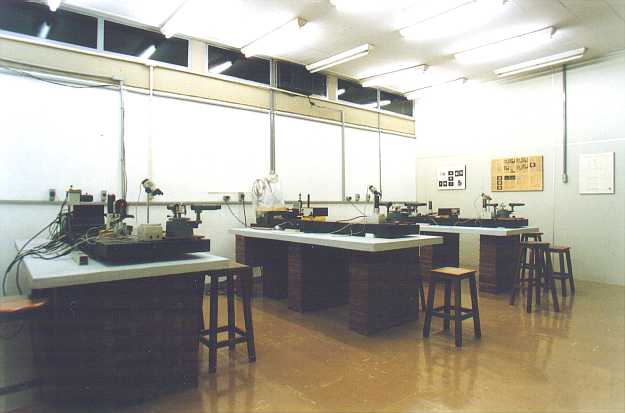
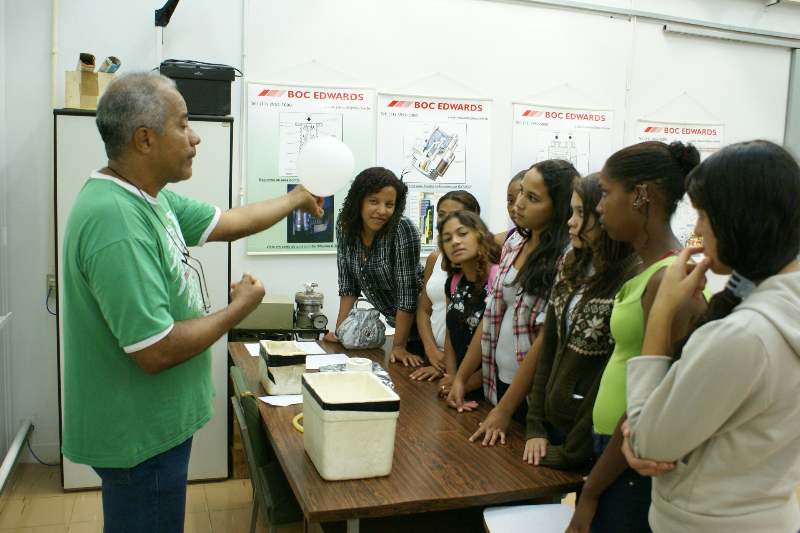
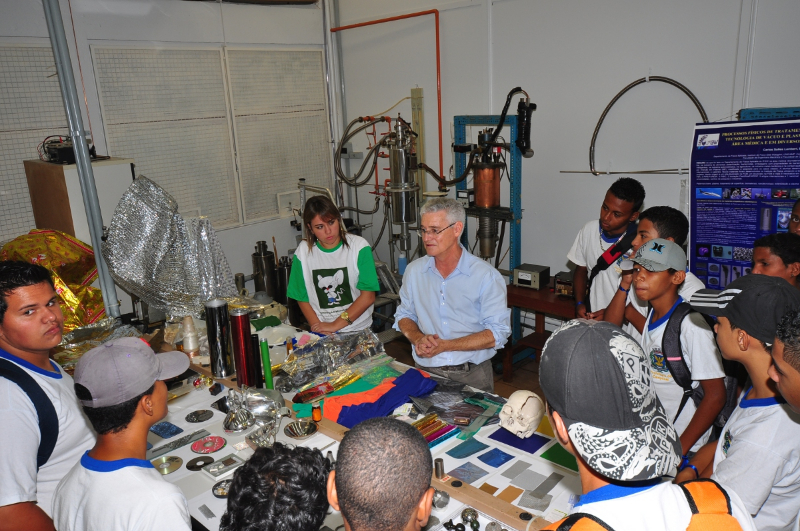
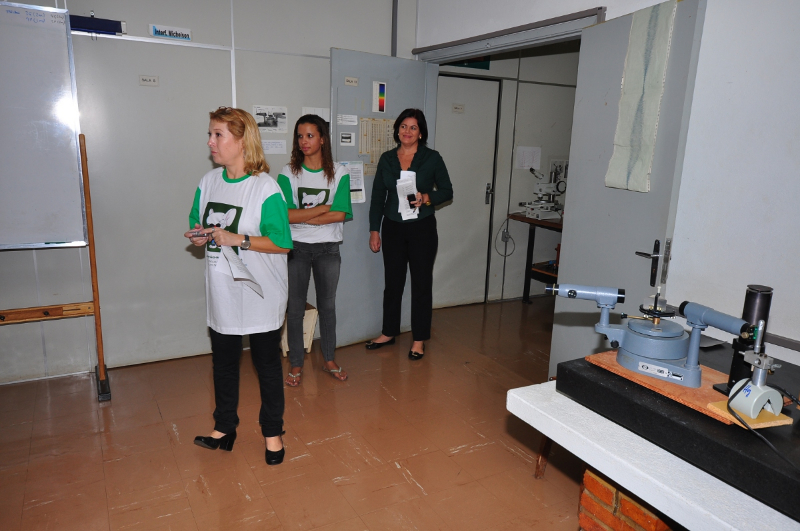
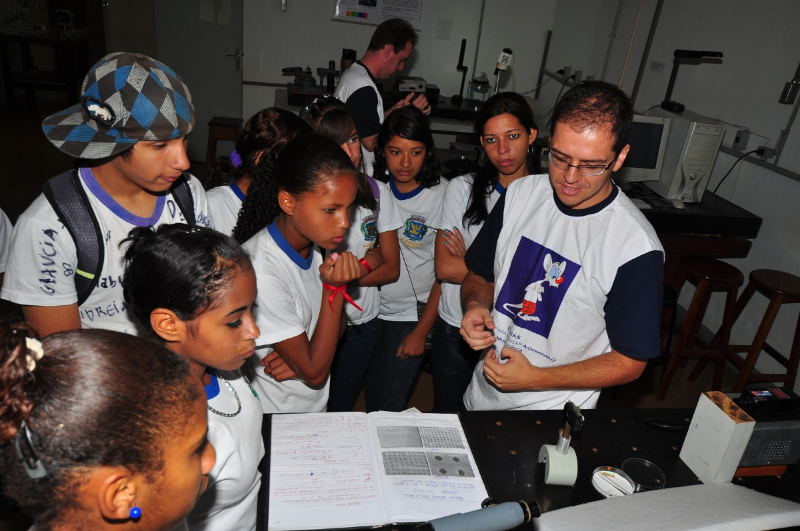
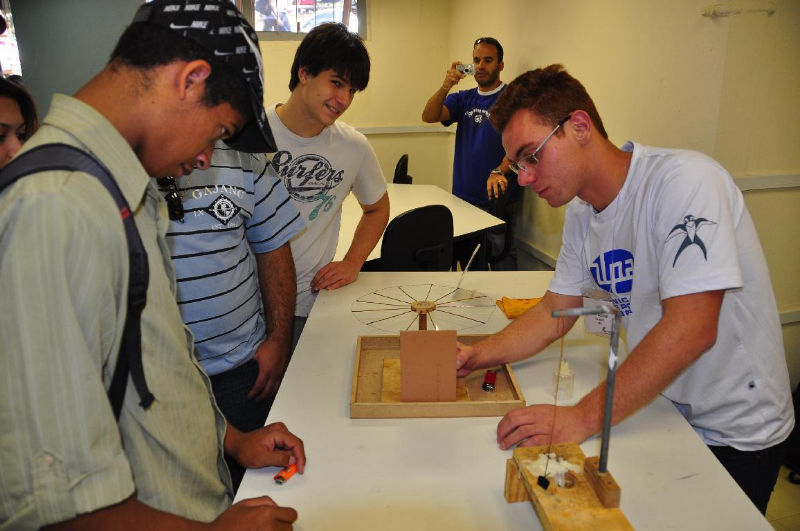
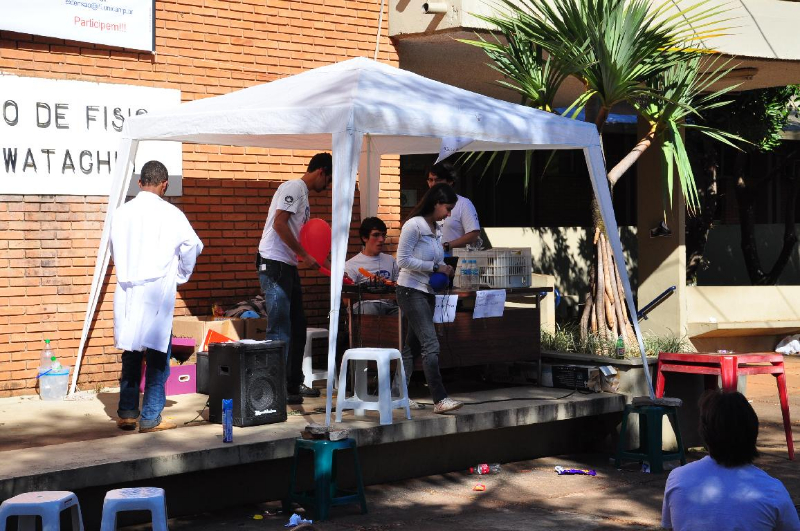
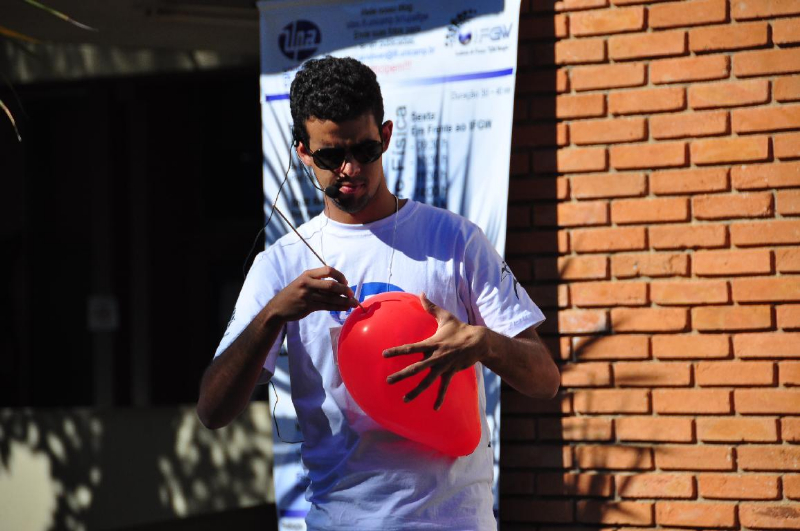
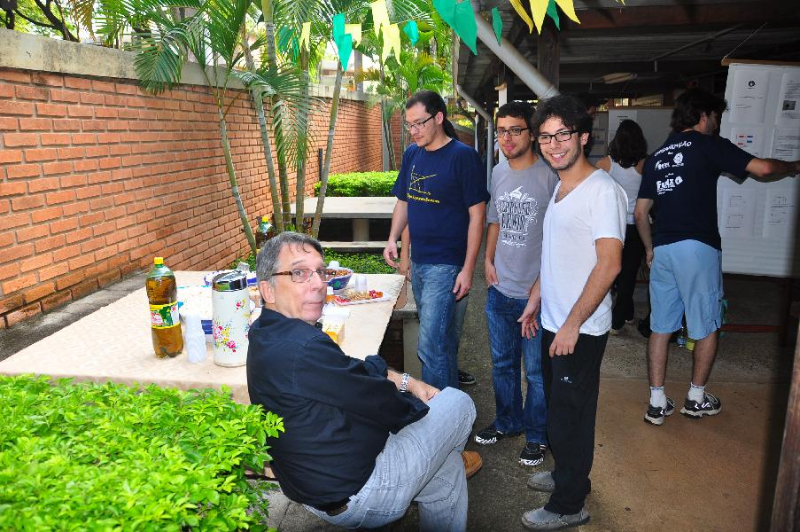
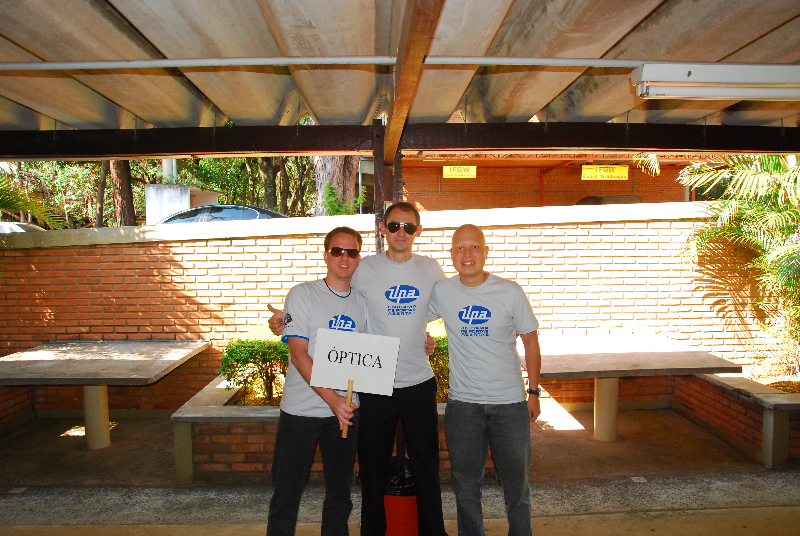
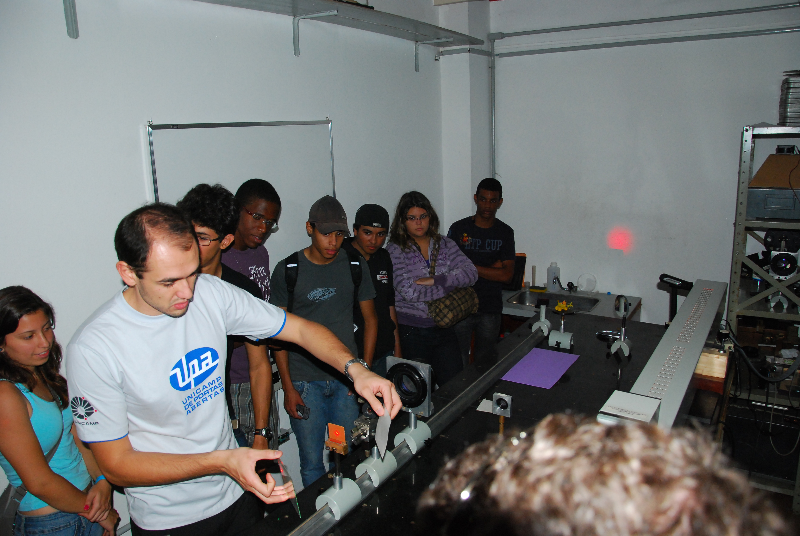
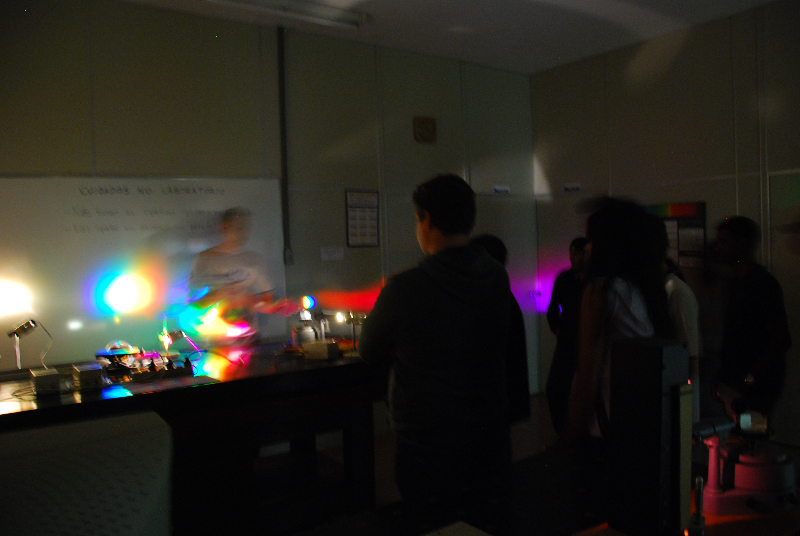
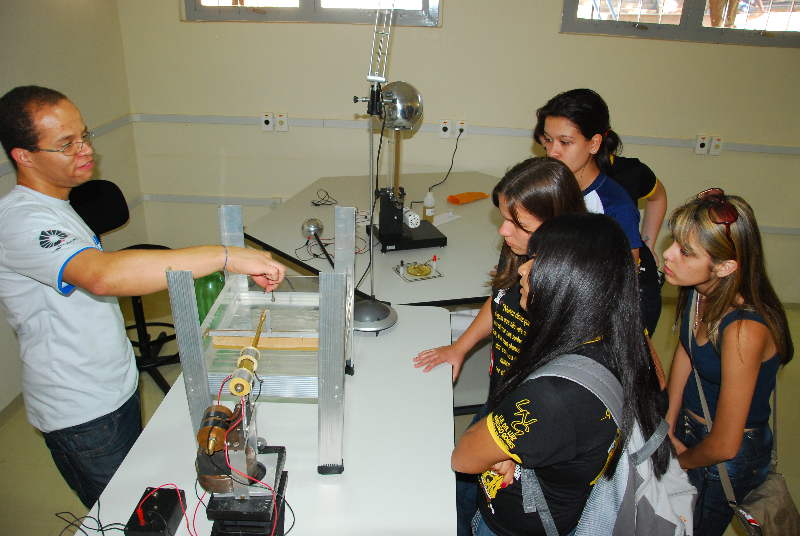
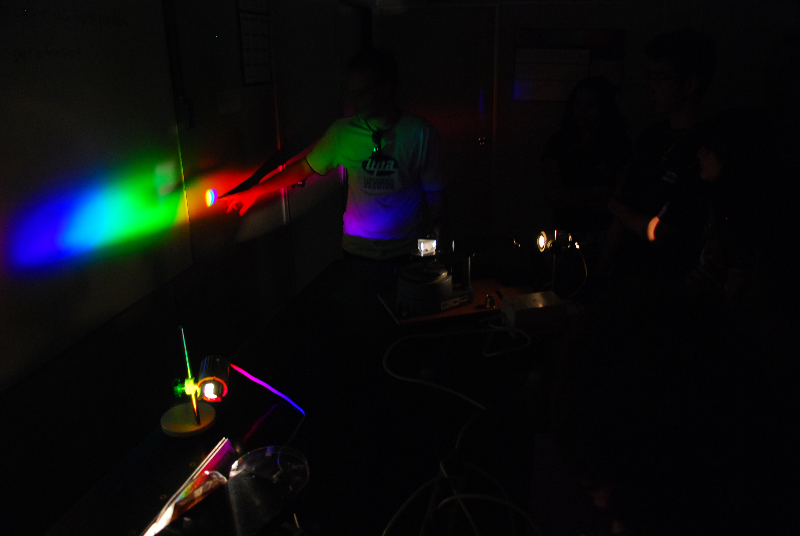
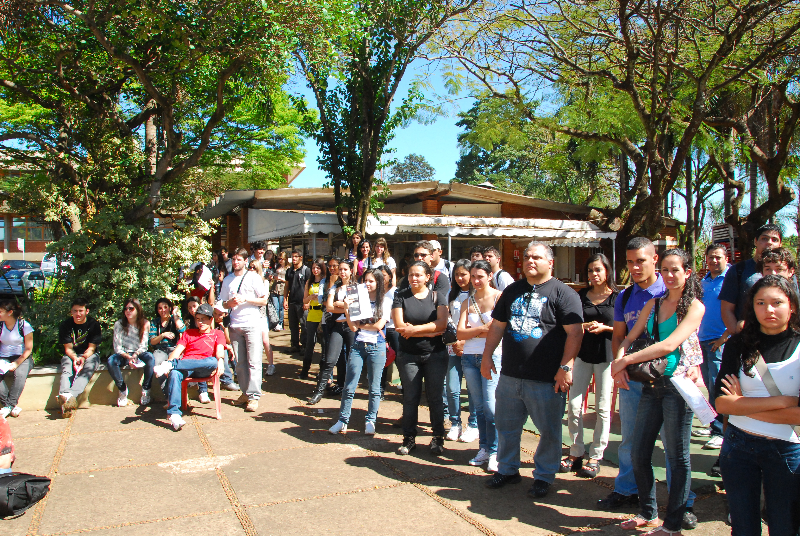
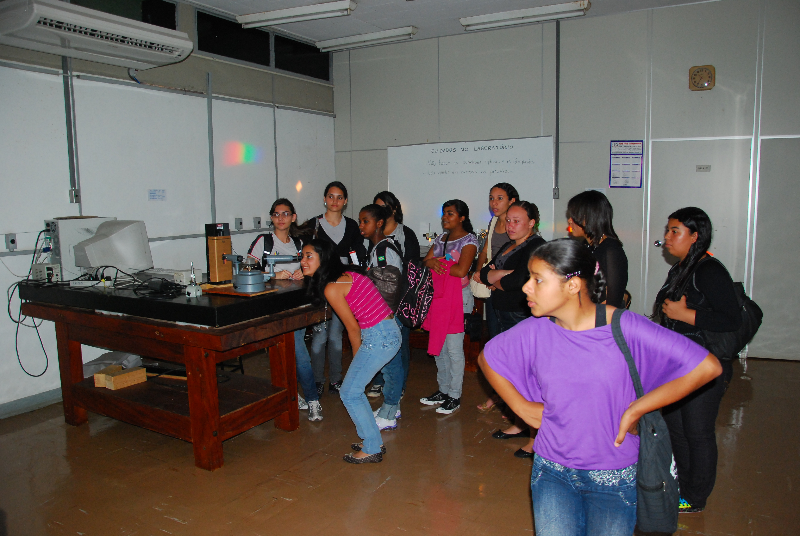
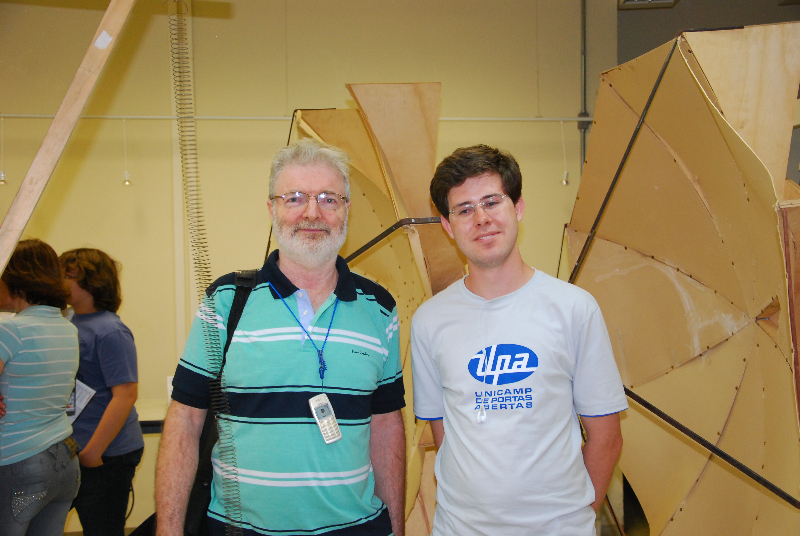
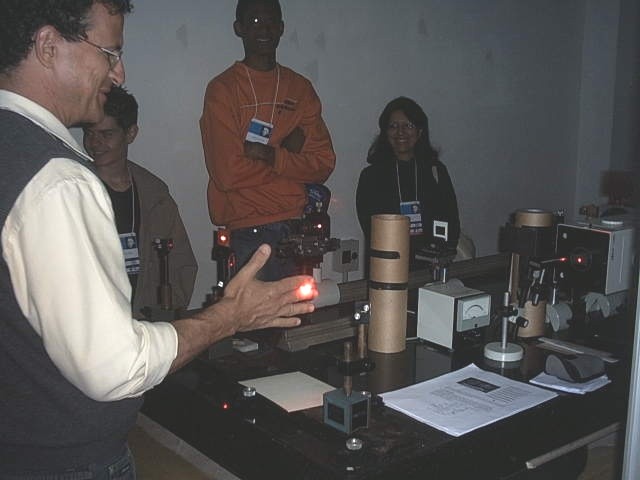
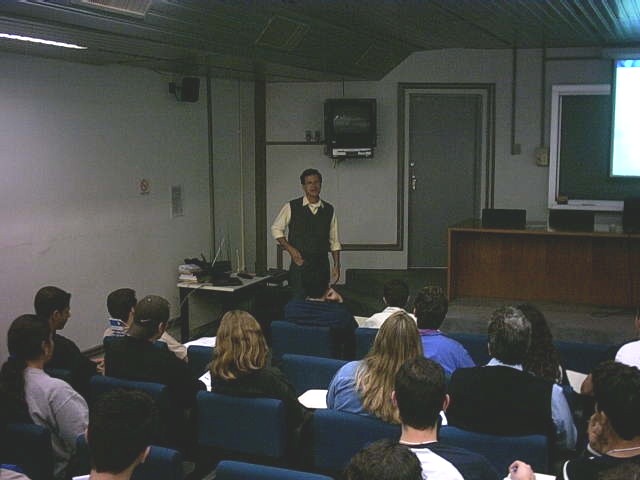
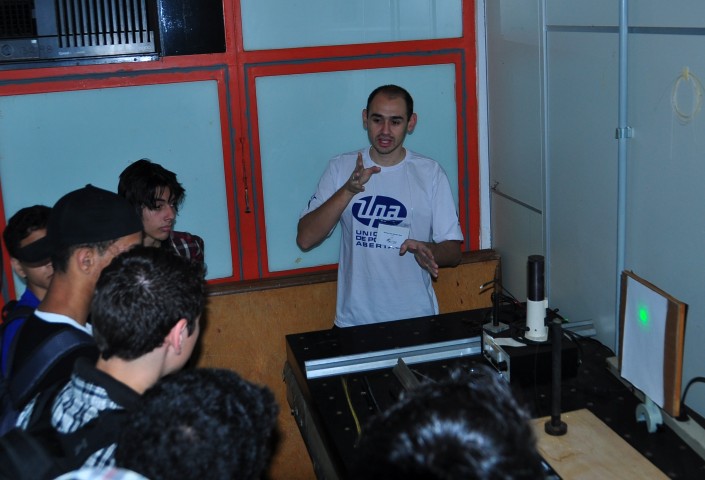
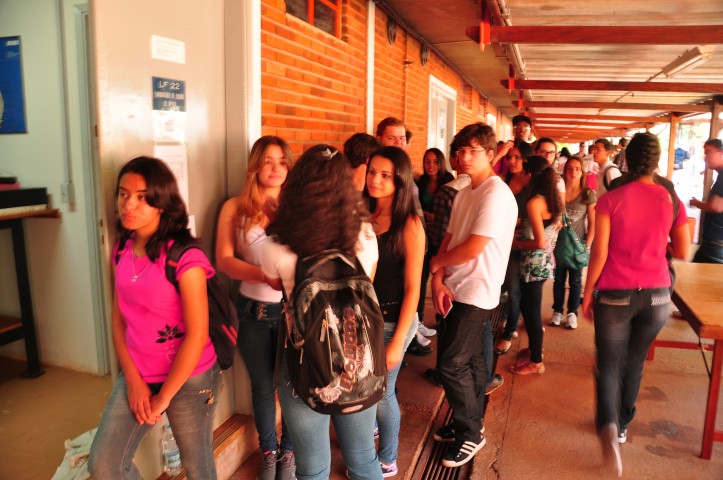
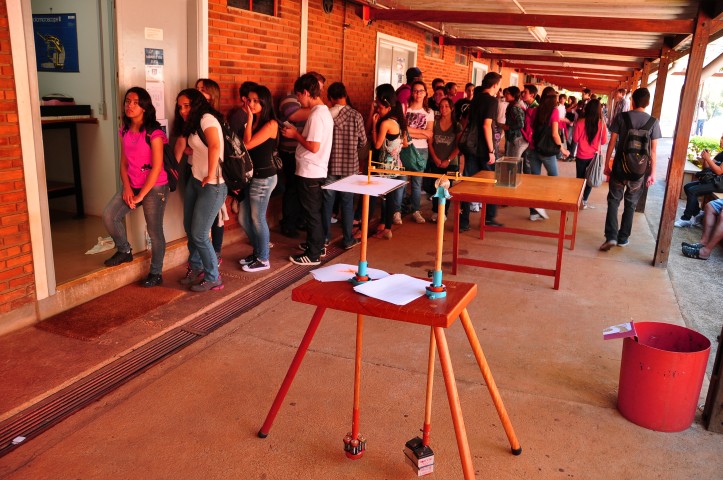
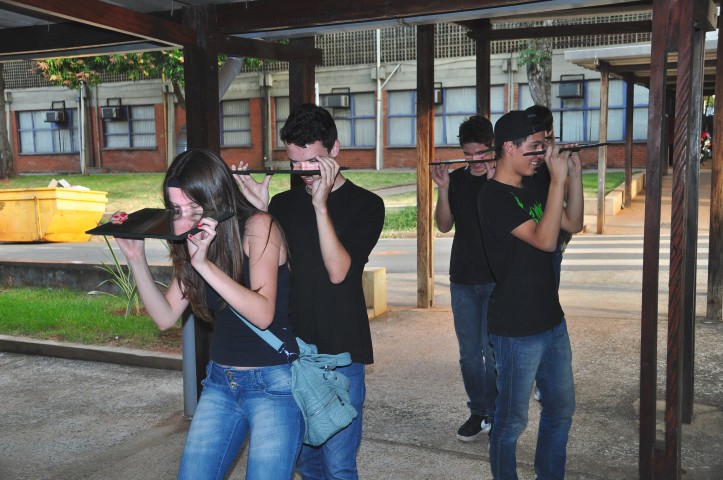
Laboratório de Ensino de Óptica
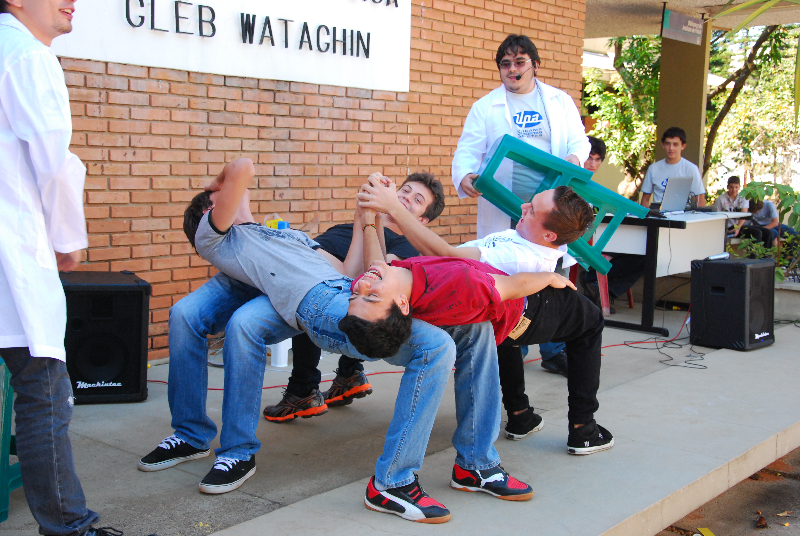
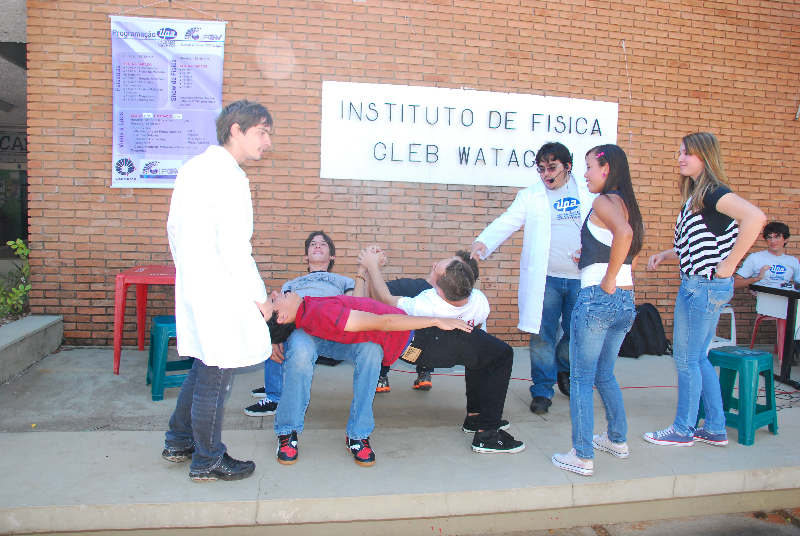
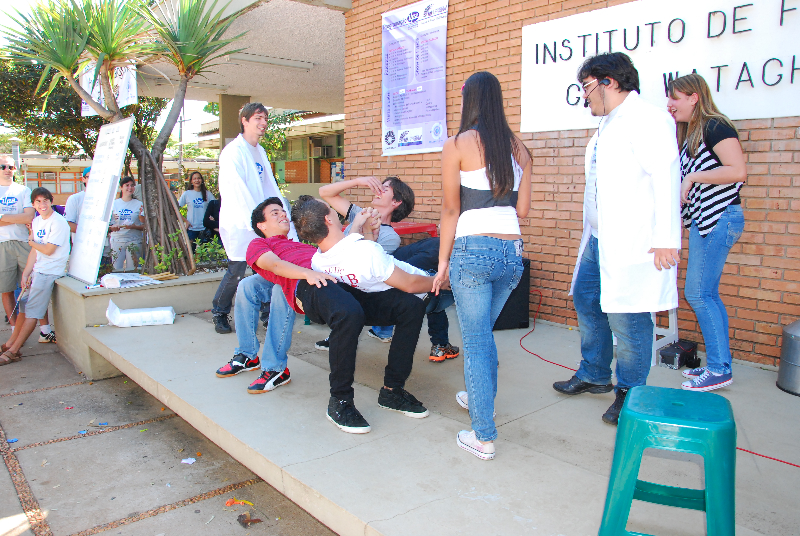
Instituto de Física Gleb Wataghin – UNICAMP
Voltar para O Laboratório